raspberry Pi Camera Assembly - Recording Video clip With an IP Camera


When you are considering buying a digital camera that could record video clip, you may want to consider the Sony Raspberry Professional indemnity Camera Module. This particular module will certainly record motion activated videos and can also detect the particular subject in the photo and turn on its image fühler if necessary. Typically the Pi camera does indeed not have a flash, instead by using an internal digicam which records the image in a transcoding mode. The photographs are in that case displayed on the particular Raspberry Pi employing the Video Manager. This tutorial will reveal how to mount the modules and how to control the camera through your raspberrypi computer.
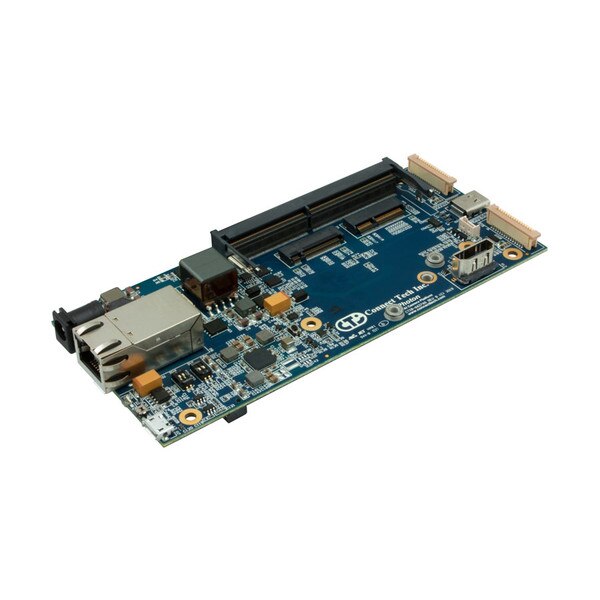
First, you need to decide what type of digital camera modules you happen to be interested in. Right now there are two main types available, the first is typically the iRibbit IR digital camera modules, and the particular second will be the HIDEOrared Light Emitting Diode camera modules. The particular Raspberry Pi camera module has a Sony IMX 219 8-megapixel camera. The Digital camera Module will furthermore work with the HIDEOrared Light Emitting Diode (LED) sensor, which in turn is a great deal smaller than the IMX. The camera modules can also be used in order to capture stills photographs, as well while high definition video. It is easy to be able to operate for many beginners, but does indeed have lots to provide even advanced users when you happen to be looking to lengthen your knowledge.
To use your camera or record online video from your Raspberry Pi, you will need an IR filter, an graphic sensor, the command word module, as well as your Raspberry Pi Computer. First of all, connect the Raspberry Pi to the television using the HDMI cable. Next link the camera towards the iRibbit infrared camera module. Turn on the particular Raspberry Pi plus search for an image around the screen to tell it to be able to start recording. Understand what see this, go to the file menu around the Raspberry Pi and choose " Recording" then " webcam".
Next connect your own TV monitor in your raspberrypi, switch about the command module, after which connect your own iRibbit infrared camera towards the Raspberry Professional indemnity by pressing typically the [entary] +[enter] keys. Once ai camera meaning are able to be able to see the camera supply on your raspberrypi's screen, then hook up your computer by means of usb to the raspberrypi. Once an individual have completed this, it's all easy from there.
Difficulties difference involving the iRibbit camera module and the noir camera module is the particular noir uses a new photoresistor, that is a diode that changes their voltage using the sum of light that may be absorbed. This means that whenever you position your camera close to a source of light, the photoresistor will sense that light, and the ac electricity change will create the LED light on your raspberrypi turn on. To control what light your camera LED's are answering, you just need to be able to wire the type on the camera upwards to your laptop or computer. Given that it uses some sort of photoresistor, you need to convert the voltage to analog using the arduino library that a person have. In purchase to control just what light handles, you use a potentiometer to adjust typically the voltage.
Applying the raspberrypi camera module, it is probable to capture pictures even in scenarios where the noir or ir cut-off filter is activated. A basic implementation for this should be to attach the camera to be able to the arducam component and connect typically the input on the particular arducam to your computer. usb camera module was applied in a scenario where there was no light, the image sensor would likely respond to light.